If you’ve ever stared at an empty WordPress drafts folder at 6 AM wondering what to write, this one’s for you. Content Forge Autopilot is a new, completely free feature that schedules AI-generated posts for you, on your terms, with your AI provider, and with safety rails so nothing ships without your say-so.
What is Autopilot?
Autopilot is a scheduled AI publishing assistant built into Content Forge. You define a recurring rule once, for example “every weekday at 9 AM, draft one post about WordPress productivity tips”, and Content Forge handles the rest in the background using whichever AI provider you’ve already connected (OpenAI, Anthropic, or Google).
It’s the difference between “AI can write a post if I ask it to” and “AI is quietly putting drafts on my desk every morning before I sit down.”
Who is this for?
- Solo bloggers who want a steady supply of first drafts without the blank-page tax.
- Content marketers populating a niche site, demo, or staging environment with realistic posts.
- Agencies spinning up a content backbone for a client site before editorial takes over.
- Developers and testers who want a site with real, ongoing content for theme, SEO, or performance testing.
How it works, in 30 seconds
- Go to Content Forge → Autopilot and click New Autopilot.
- Pick a topic source — a list you write, a queue, or an AI-generated topic from a theme.
- Pick a frequency — daily, weekly, monthly, or any custom interval.
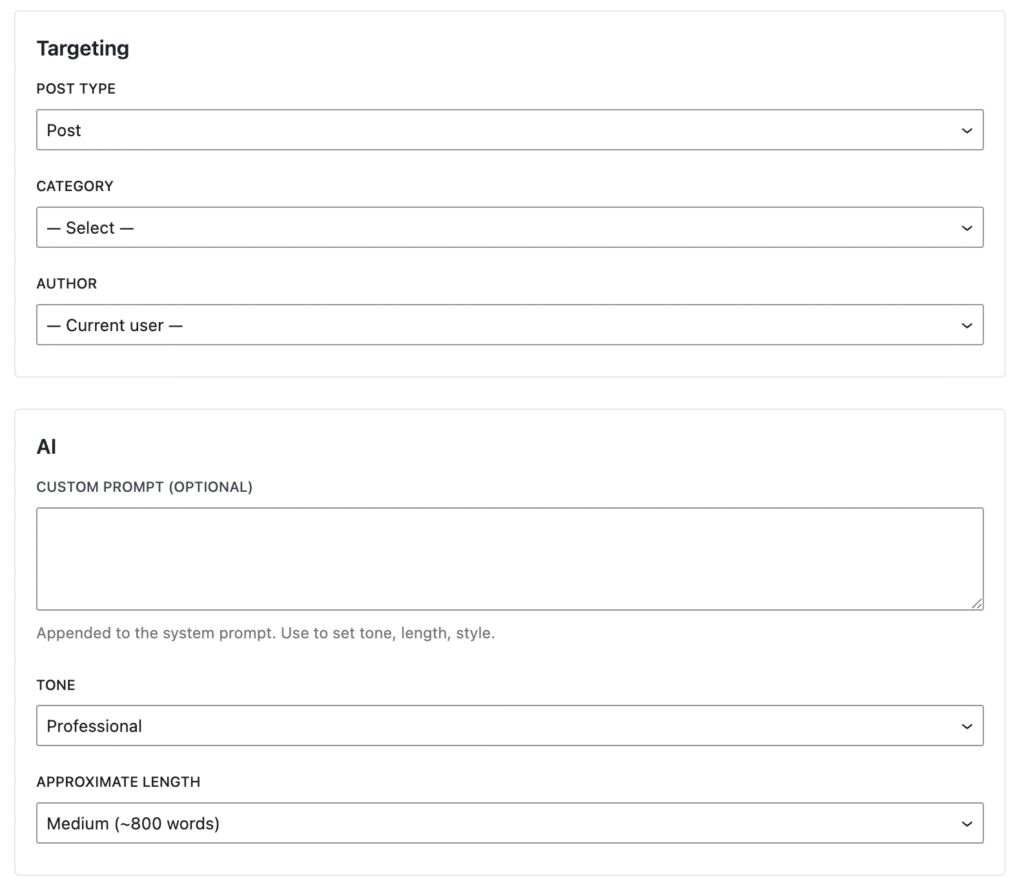
- Pick a tone and length, optionally add a custom prompt for your brand voice.
- Pick what happens to the result — draft, pending, scheduled, or live.
- Save. Done.
From that point on, the post arrives in your drafts folder (or wherever you told it to go) on the schedule you set, without you opening the editor.
Four topic strategies, pick the one that fits your workflow
This is the part most users will spend the longest deciding on, so here’s a quick map:
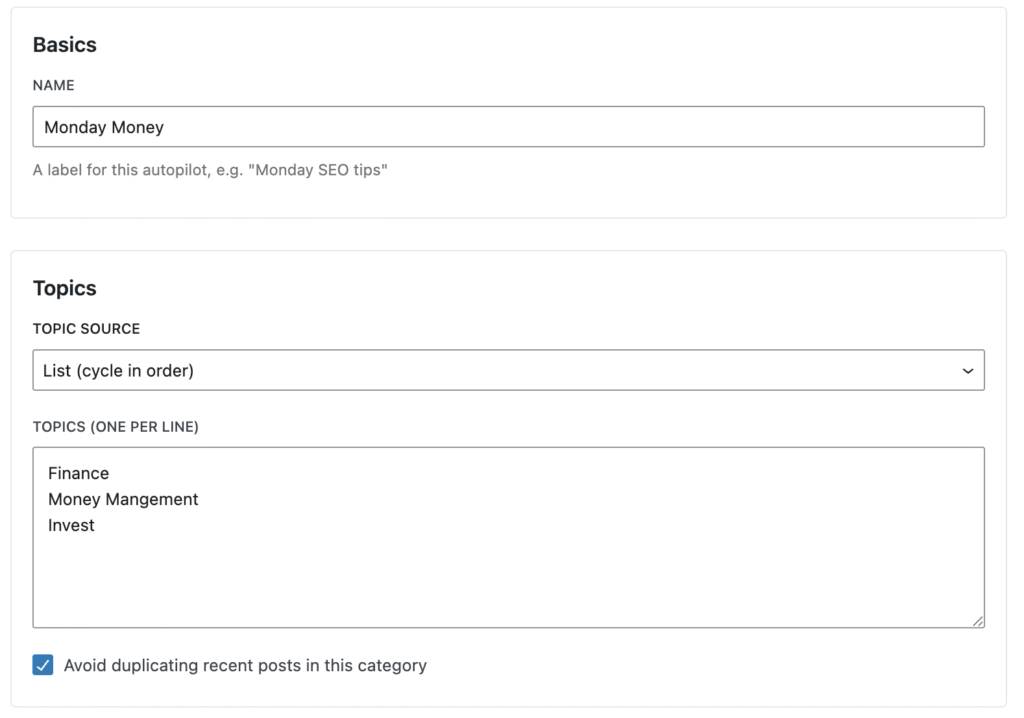
- List (cycle in order) — You’ve planned 20 specific topics and want them written in sequence. Predictable, editorial-friendly.
- List (random pick) — Same list, but Autopilot picks one at random each run. Good for evergreen topic pools.
- Topic queue — A “one-shot” queue. Each topic is used once and removed. Great for sprint-style content batches.
- AI-suggested from theme — Give it a niche like “home brewing for beginners” and let the AI invent the topic each time. Most hands-off mode.
“But what if the AI goes off the rails?”
Reasonable question. Autopilot ships with several safety rails on by default:
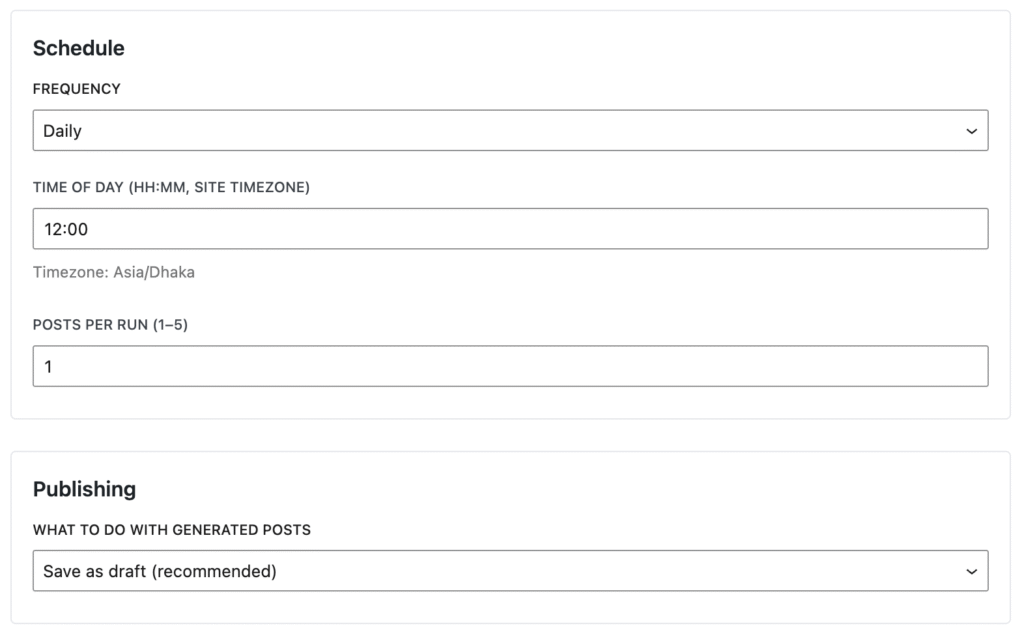
- Default-to-draft. Nothing goes live without you flipping that switch yourself.
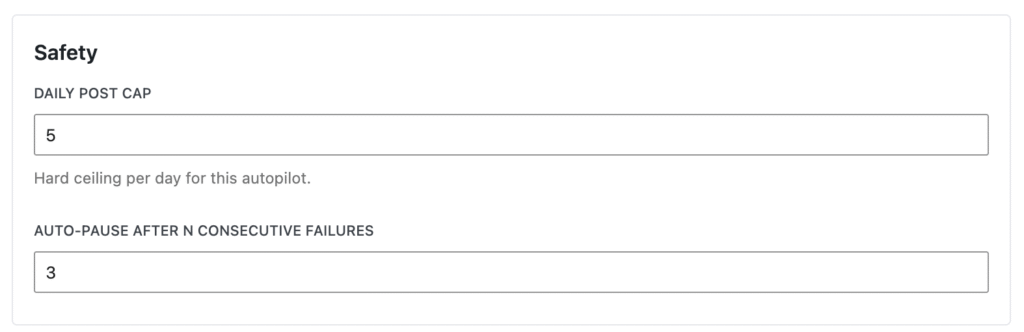
- Daily post cap. Hard ceiling on how many posts a single Autopilot can create per day.
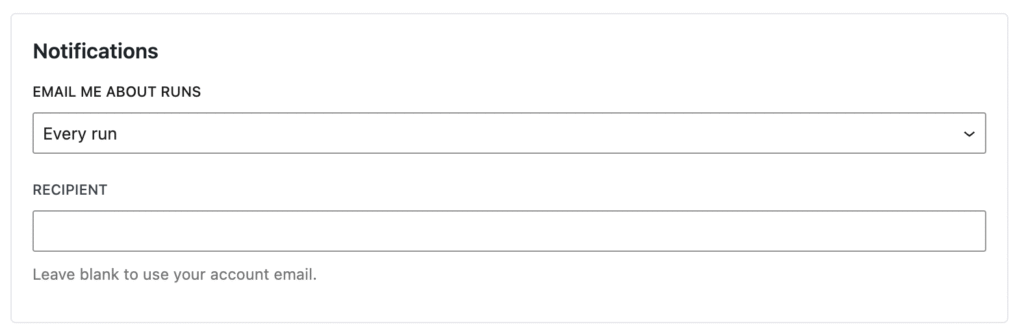
- Auto-pause on failure. Three failed runs in a row (configurable) and Autopilot pauses itself and emails you.
- Duplicate guard. Optional similarity check against your recent posts in the same category — no more accidentally writing the same article twice.
- Dispatcher heartbeat. The dashboard warns you if WP-Cron has stalled and Autopilot hasn’t run when it should have.
A few example setups
The “daily coffee draft”
One draft on your desk every morning, ready for you to polish before publishing.
- Topic source: AI-suggested from theme
- Frequency: Daily at 06:00
- Publishing: Save as draft
- Notifications: Failure only
The “fill out a niche site in 30 days”
Hand it a list of 30 topics and walk away. Drafts land daily; you review them on your own schedule.
- Topic source: List (cycle in order) with all 30 topics
- Frequency: Daily at 09:00
- Publishing: Schedule to publish later, 6-hour review window
- Daily post cap: 1
The “Sunday-night content batch”
One run, five drafts, every Sunday evening. The whole week of content ready before Monday morning.
- Topic source: Topic queue with 7 topics
- Frequency: Weekly, Sunday at 22:00
- Posts per run: 5
- Publishing: Save as draft
What does it cost?
Content Forge is free. Autopilot is free. The only thing you pay for is the AI provider’s API usage — and that bill goes directly to OpenAI, Anthropic, or Google, not to us.
A note on AI-generated content and Google
This needs saying plainly: Autopilot is not a tool for mass-publishing unedited AI content. Google’s guidelines penalize low-quality, unhelpful content regardless of how it was produced. The point of Autopilot is to remove the blank-page friction — to put a first draft in front of you so you can edit, improve, and add your own perspective. Used that way, it’s a productivity multiplier. Used to spam? You’ll get what you deserve from Search.
Getting started
- Install or update Content Forge from the WordPress plugin directory.
- Go to Content Forge → Settings → AI and connect a provider (OpenAI, Anthropic, or Google).
- Open Content Forge → Autopilot and create your first scheduled rule.
- Hit Run now to test it end-to-end, then let it ride on the schedule.
Got feedback, a feature request, or a recipe of your own that works well? We’d love to hear it.
You can try Content Forge for free in WordPress repository here.
Content Forge is a free WordPress plugin for generating realistic content — dummy data for development, AI-generated posts for real publishing, and now scheduled AI publishing with Autopilot.